customtouch
Active member
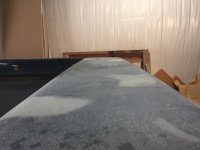
Longstr said:FL350 said:Longstr said:More work on the rubrail filled in all the holes with peanutbutter today, was a teadeous process fighting gravity to keep it in the holes.. I am not 100 percent happy with the outcome, it didn't bond all the way thru on the majority of the holes. So I am going to add a bead of peanutbutter on the inside to ensure 100% bond, then fill from the inside. Had no idea this part would be so time consuming was really expecting it to be upside down by this evening. :smile15:
Did you mix some Cabosil with the resin?
Yes I did thickened it to a paste
I like to cut up fiberglass matt really fine and add that to the paste while mixing. You can make it similar to "kitty hair" in consistency but it will be a lot stronger with better adhesion. It will help when your filling holes and especially when fighting gravity like you are. :smile30: